Laravel is a popular PHP framework that makes web development fast and easy. If you are a beginner and want to start your first Laravel project, this guide is perfect for you.
Step 1: Check System Requirements
Before installing Laravel, make sure your system has:
- PHP >= 8.0
- Composer (PHP dependency manager)
- MySQL or any other database
- A web server (XAMPP, WAMP, Laravel Sail, etc.)
Tip: Windows users can use XAMPP, while Mac/Linux users can set up via the terminal.
Step 2: Install Composer
Composer is required to manage Laravel dependencies.
- Download Composer from the official website.
- After installation, check if it’s working by running:
composer -v
If it shows the version, Composer is installed successfully. ✅
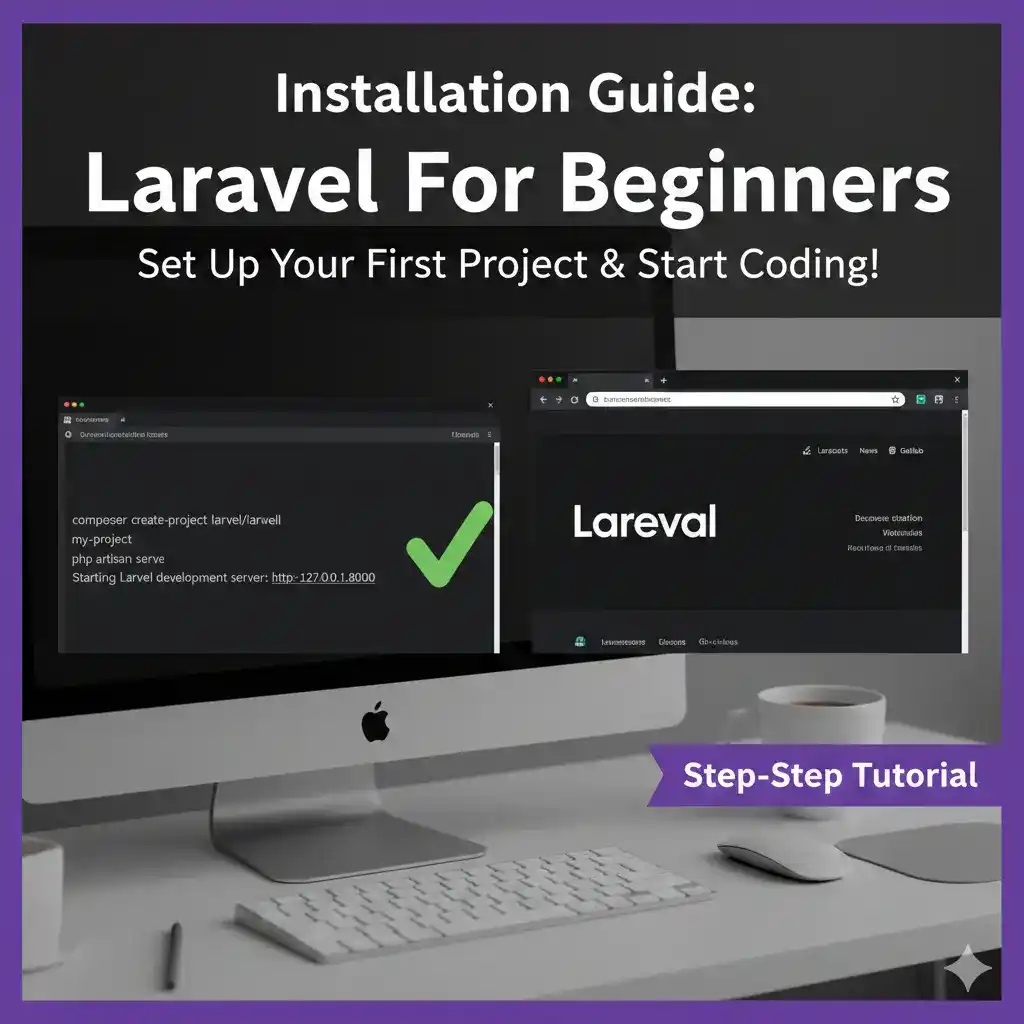
Step 3: Create a New Laravel Project
Open your terminal or command prompt and type:
composer create-project laravel/laravel project-name
- Replace
project-namewith the name you want for your project.
This command will download the latest Laravel version and create a new project folder.
Step 4: Run Laravel Development Server
Go to your project folder and start the server:
cd project-name
php artisan serve
You will see a URL like: http://127.0.0.1:8000/
Open it in your browser. If the Laravel welcome page appears, your setup is successful! 🎉
Step 5: What’s Next
Now you are ready to:
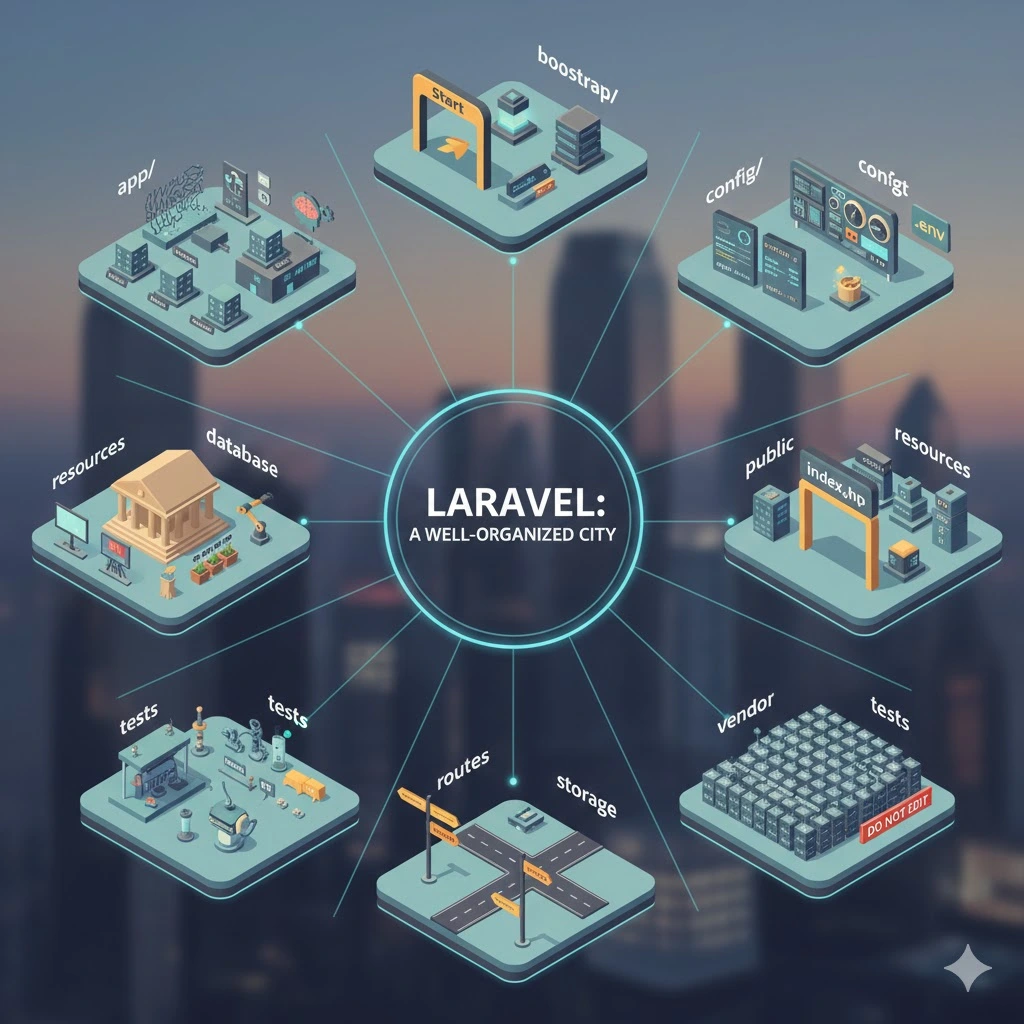
- Explore Laravel routing and MVC structure
- Set up a database and run migrations
- Build your first CRUD operations
Category: Laravel
Tags: #Laravel Setup


2 Likes 0 Comments 32 Views
Leave a comment
Leave a Reply